Thursday, August 15, 2013

Early fall sewing #1: Datura


  This Datura is the first garment in what I hope will become an early fall wardrobe. I sketched grand plans that involves sewing 8 garments plus 2 refashions and a shirt for E in August/September. Well, we'll see how that goes, but I like having a bit of structure in my sewing. And let's be honest here, the planning is almost as fun as the sewing! I have to hem dress #1 and I'm just finishing up an Archer so I'm on the right track so far.


It is no secret by now that I have a pattern crush on Deer and Doe's Datura. this is my third version, and I keep thinking if new ones. I like the simplicity of the design and the clever details. The contrast yoke allows for endless fabric combinations and the collar options for variation.

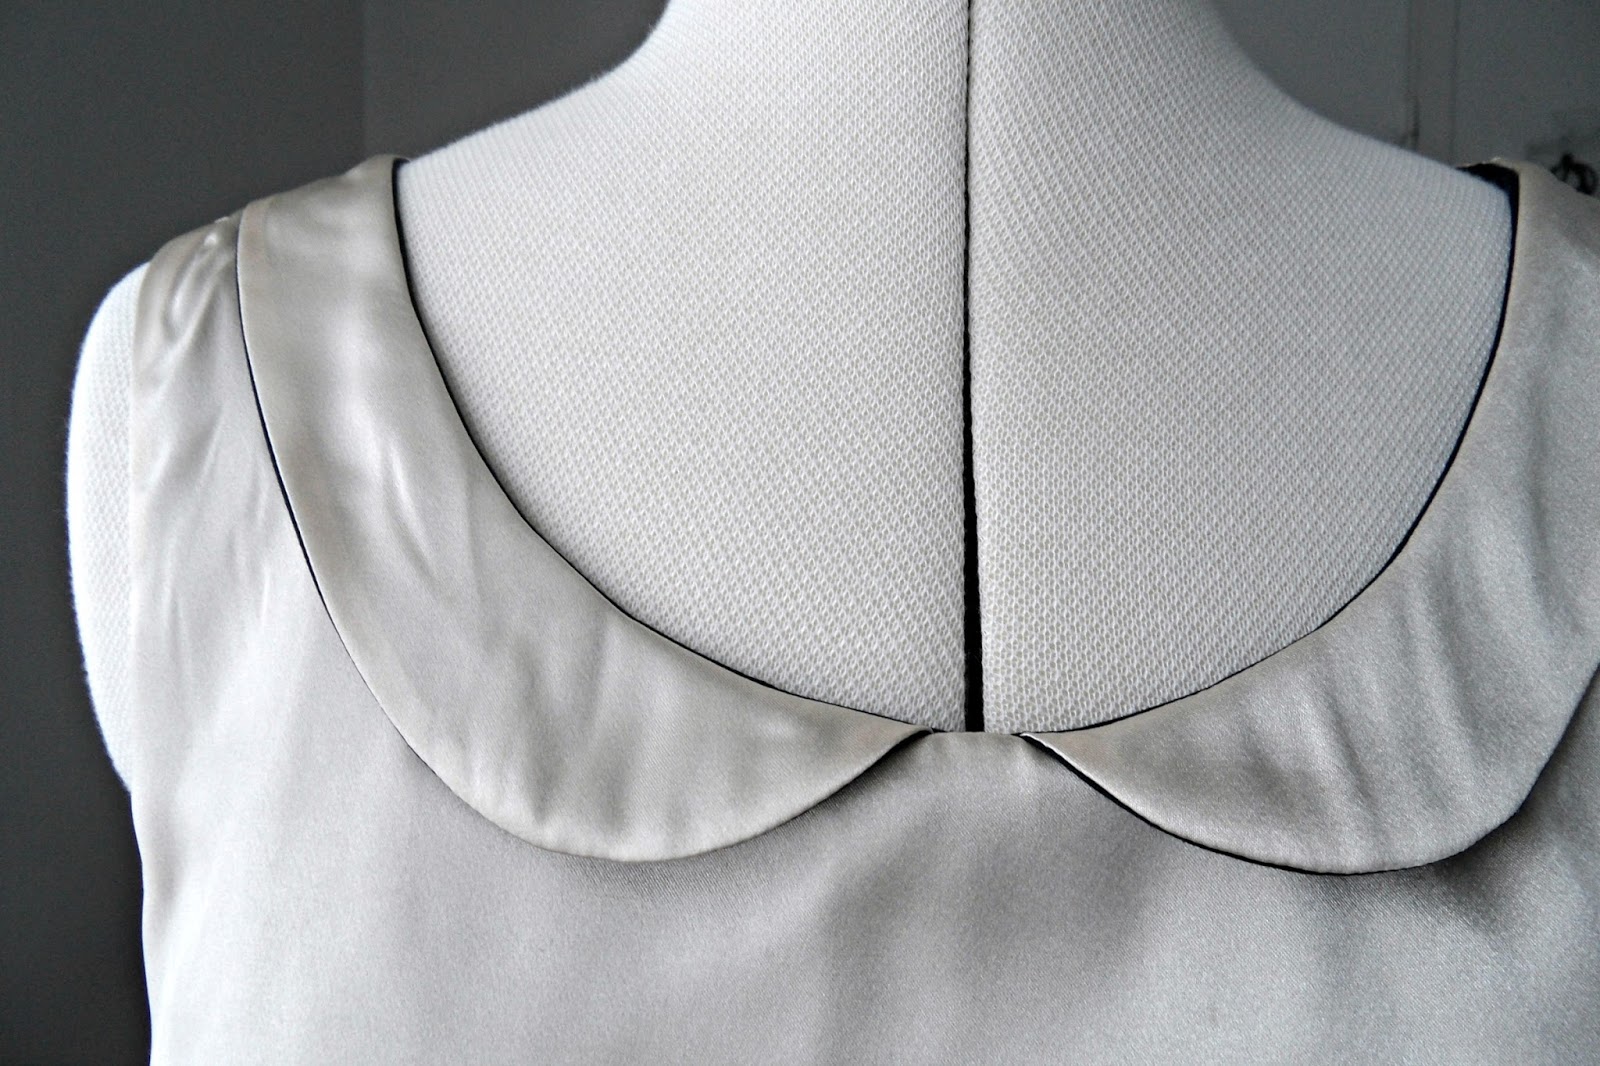
For this one I traced a size smaller (36) than the previous ones, and the fit is much better. I wasn't too noticeable in my first Datura because the fabric was quite drapey, but the fit across the bust was an issue in the stiffer cotton of my second version. Now, there is no gaping at the armholes and the fit around the bust and shoulders is better. I made view B with the Peter pan collar, obviously. The collar turned out very narrow and there is a gap at the center front, where the two collar pieces should meet. I'm not quite sure of what I did wrong, as I did not encounter that issue on my first Datura. It's bothering me a bit... Maybe the seam allowance on the collar is only 3/8"? Oh well, it's not going to stop me from wearing it.


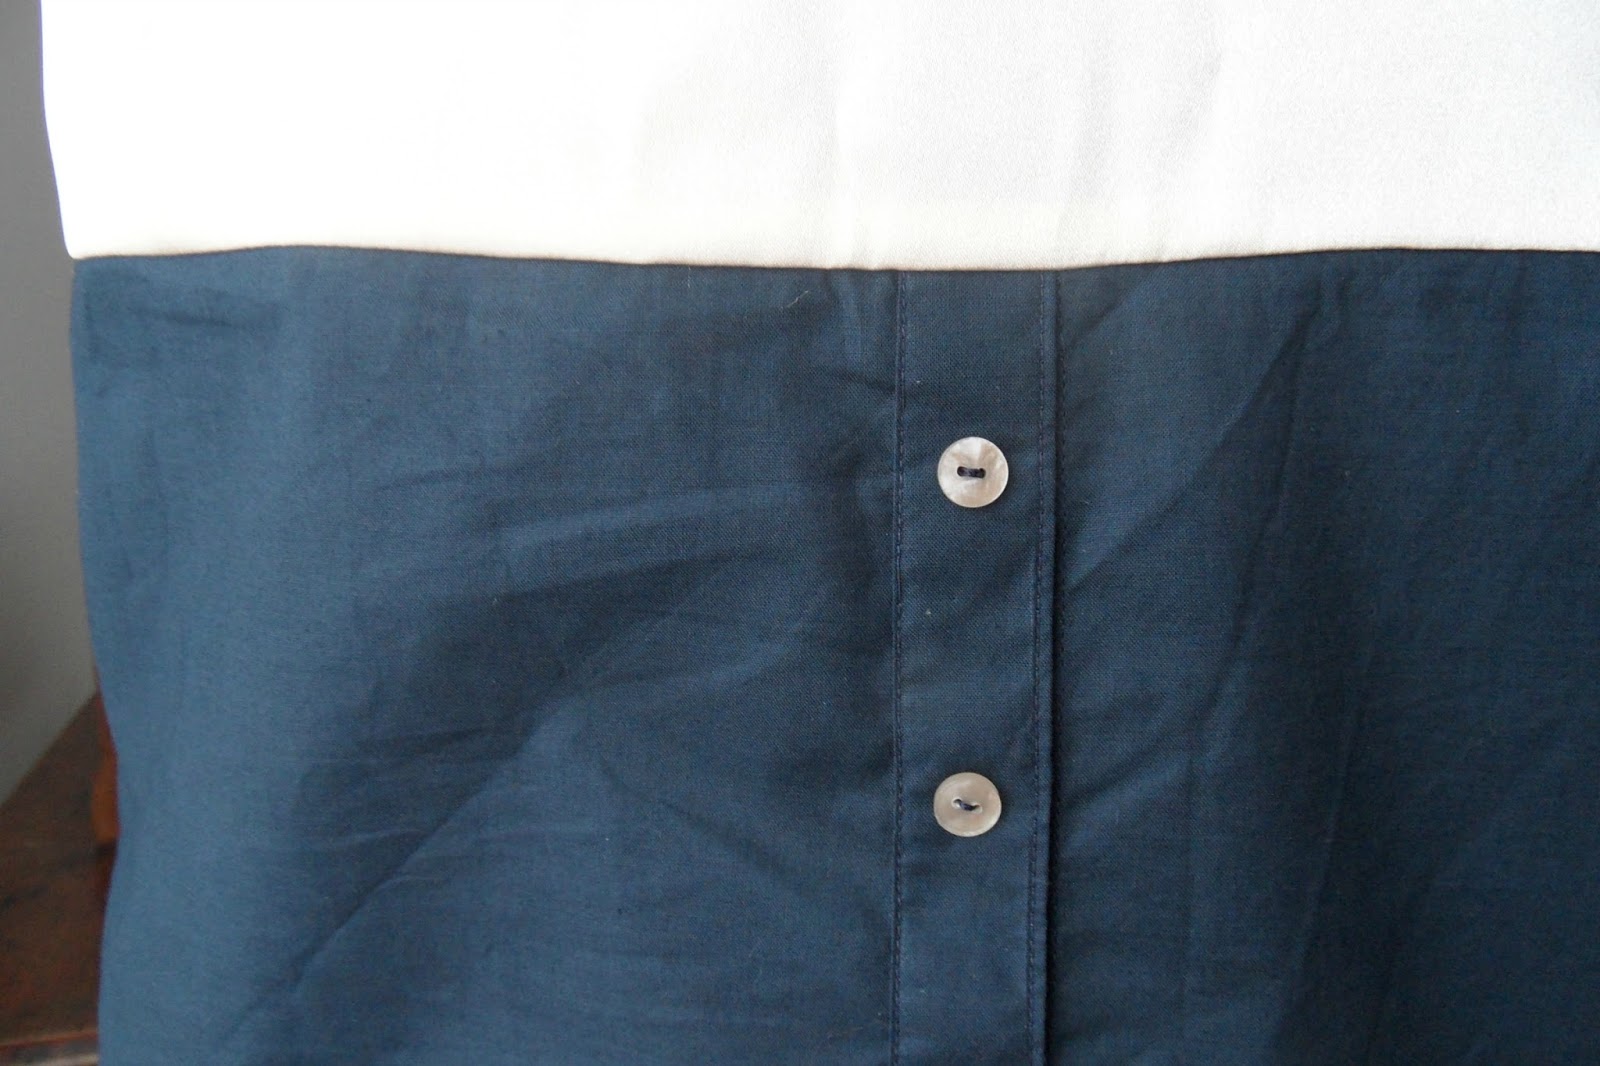
I used a beige satin for the yoke and collar and a navy cotton voile for the main pieces and facings. The satin was a leftover from other projects and the cotton is a coupon from Paris. I'm glad I went with the cotton for the facing as it is nicer to have on my skin than the ployester of the satin. I've had this colout combination on my mind for a while now, so I'm pleased it's finally made it's was into a garment. I have lots of the lovely navy cotton left, as it was a 3m coupon and the Datura doesn't eat much fabric. I think I'll turn the remaining 2m into a dress with som colour contrast. Or an Archer... I'm quite liking sewing shirts!


Tuesday, August 6, 2013

70s style day dress

So I made a new dress! This time from a vintage pattern. I'm guessing it's from the seventies, but that counts as vintage right? It is a swedish STIL pattern that was given to me by my boyfriend's mum, along with a pile of awful 80s patterns, but let's focus on the nice stuff.


I made view A with the collar, the one in pink above. I liked the soft gathers, the cute collar and the breeziness of the elasticated waist. I used a poly crepe fabric I bought in Paris on my recent trip. 

The pattern did not include seams allowances, so it took a lot of figuring out for the collar, but it turned all right in the end. Otherwise, it was simple to sew. Fitwise, I removed about 10 cm in the circumference at bust level. I did it after everything was done, so it is not perfect, but it is a great improvement compared to before. I'm happy with the fit now, so all good.


Tuesday, July 30, 2013

Blue, red and white

I had been wanting to make a shirt for my boyfriend for a long time, but I was quite afraid of all the tailored details, the topstitching and the flat-felled seams. I even had purchased McCalls 6044 about a year and a half ago, "for when I'd be ready", but it had been sitting in my pattern box since then. I'd pull it out from time to time, and dream of the day I would be skilled enough to sew it up.

So one evening, I was fabric shopping online and 4 meters of this nice cotton shirting ended up in my basket. I really liked the colors, and the simple plaid, and thought that I could always make a cute summer dress out of the fabric if I chickened out...


As it turned out, my boyfriend liked the fabric, and I thought it was time for some selfless sewing... Maybe I was high om my success with my Bombshell, or maybe I was looking forward a challenge? I pepped myself up by telling myself that I had the skills for every individual part of making a shirt, so really, I could do it, right? I read Peter's shirt sew-along in preparation, these pages are full of invaluable information. As I sewed a muslin (and even in the construction of the final shirt), I kept referring to it. Another great source of information was also Lisa, from Notes from a mad housewife, specifically this post. 

So I made a muslin in a size medium, then forced my boyfriend into hour-long discussions about his likes and dislikes of the shirts he have in his closet. I had him spend a long time (awfully long considering how scratchy my muslin fabric was) in the muslin so that he could tell me what he wanted differently in terms of fit. It really wasn't much, a few cms in the back and a little lenght and that was it.

I did however make quite a few changes to the pattern. I changed the sleeve to one piece and added a placket, from Lisas template, split the back and added a bias yoke, added some ease to the back with the help of two pleats, and finally, I changed the front button placket to a folded one. This one I totally fudged... the rest of the changes were measured and carefully planned, but I really couldn't wrap my mind around the provided placket pattern pieces and I could not figure out the center front, and how much more width I needed to add to the front pieces for folding. Heh. I worked out perfectly, and I'm not quite sure how it happened!


I am really chuffed with the results! It is the most technically challenging garments I have made, and yet, the results are good enough for my boyfriend to wear it. I mean, I can live with a few imperfection in the clothes I wear that I made myself, but that someone else will do it...

I am especially proud of the sleeve plackets and cuffs. I am also really pleased with the flat-felling, even though it is not perfect on the armscyes. I need to improve on my topstitching skills, though...

So this shirt proves to myself that I have no reason to be afraid of something when it comes to sewing. I do have skills, and there are always new ones to be learned! But in the end, it is only a piece of fabric and my sewing machine, and I know how that works. And there is always my good friend the seam ripper for when things don't turn out like I imagined it...


And, finally (and most importantly), the verdict of my boyfriend?


I'd say he is quite happy with the results!

Tuesday, July 23, 2013

Tea dress


I made this dress a little while back and wore it to an afternoon party in France in the beginning of July, but travelling and fabulous weather distracted me from posting it earlier. The party was however the perfect occasion for a photoshoot!

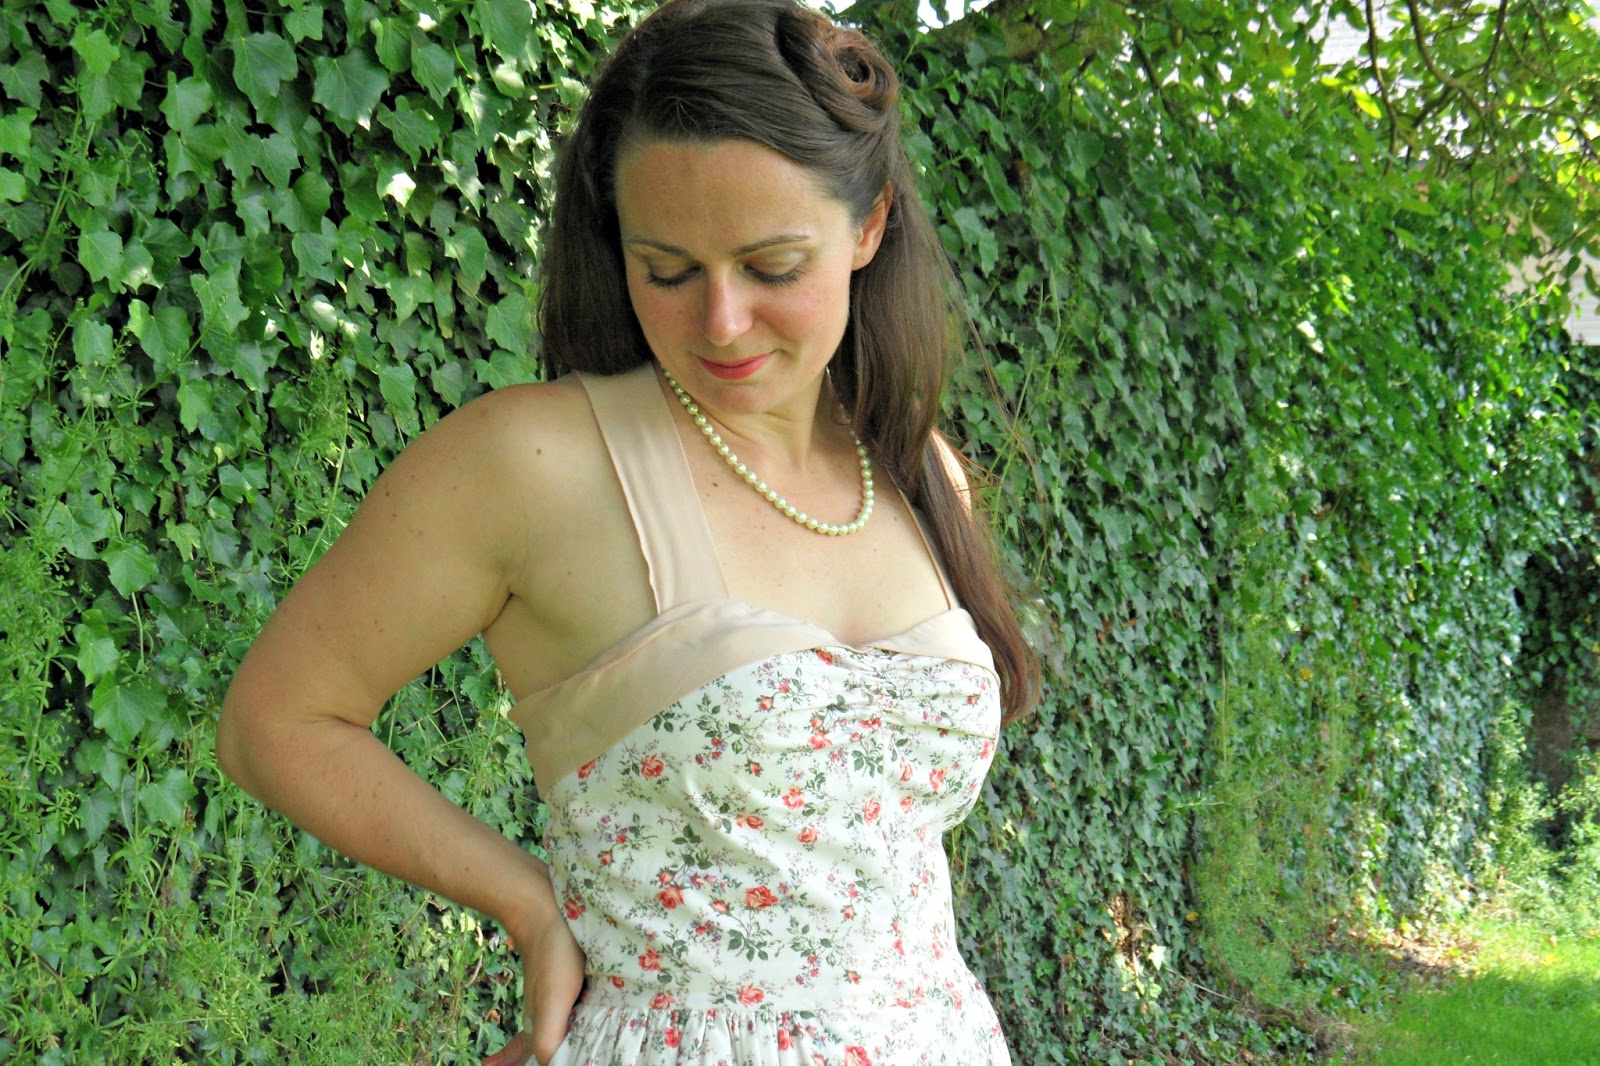
The pattern is the sweetheart sundress from Gertie's New Book for Better Sewing. I made a size 6 for the bodice, but later took in around 2 cm from the side seams, tapering to nothing at the waist. There is still some wrinkling in the bodice but I am not sure what is causing it. The skirt is a simple gathered rectangle. I gathered it only at the sides, as Gertie does. I added straps that crosses in the back, in the same fabric as the little "wings". The construction was very straight-forward, so I spent some time on making things right instead. I was careful with the grading and understitching, frenched-seamed all seams so that there is no exposed raw edges, and handpicked the centered zipper. 


The fabric is a cotton poplin, with a contrast of light dusky pink viscose. I fully lined the dress in white cotton batiste. The poplin has a bit of body, which is perfect for the style of the dress.


I am very pleased with the result! The fit is surprising, especially as there are no darts in front bodice. The skirt is very full, wich was the look I was going for, but it means I probably will not wear this dress really often, but I felt very good in it for the party. I love the retro vibe, and I am pleased with the lenght of the skirt which helps cut back on the girlyness of the look. I will definitely revisit this pattern, as it is quite versatile, in my opinion. I really want to try the tiki variation with shirring. Or maybe with a circle skirt?


Monday, June 24, 2013

The Bombshell swimsuit

I am about to publish some photos of me in a swimsuit on the internet, and I feel okay with that. That is proof of just how amazing Heathers Bombshell swimsuit pattern is. I mean, I'm almost naked, and somehow I feel classy and dressed (!?). This pattern is the swimsuit of my dreams and even if there are quite a few things I want to improve until next time, I'll be wearing this one all summer and feel like a movie star.

I'm really pleased with myself for actually sewing a swimsuit! The instructions, and working with a stretch fabric, can be intimidating, but everything makes perfect sense when you're actually sewing. And I had no problems at all sewing this up with only my sewing machine and a good old zig zag stitch.  Hopefully this will stand the test of time, but I threw myself in the water just after this photoshoot and everything held up just fine. I made view A in a quite crazy pinkish color. I bought it online (I was so excitedto find a swedish supplier of lycra!) and it was described as coral. I had never imagined coral could be neon. I was a bit disappointed, but then thought I would tackle this first swimsuit as a wearable muslin, and that it would allow me to get into all that elastic and lycra handling. The color is kind of growing on me, though, and my boyfriend says it'll be practical as I will be easy to spot on the beach...


I really love the silhouette of this swimsuit. I like how everything I want to hide is hidden, and even though there is so much of me covered up, I feel so sexy. The size is good, but I could probably shorten the bodice by a few cms. I do feel like there is a bit too much fabric in the width of the outer fabric. It sometimes feels like the fabric ripples and sag a bit over my belly. Nothing major, though.


I cannot remember the last time I was in a swimsuit and not worry about my bum showing too much. The ruching in the back is most definately sexy and flattering. And look at the fantastic hourglass shape it gives me! Is my waist really so tiny?


There is a bit of a funny thing going on at the bustline, and I'm not quite sure what is wrong. Maybe it's the elastic that wants to roll out, or maybe I should have thighten the elastic more when I inserted it, but there is a bit of gaping going on. Also, I wish there was more support at the bust. I didn't insert any foam cups, for the only reason that I could not find any, and I didn't wanted to have to wait if I ordered online. I will most definately figure out something to provide support for my next version. I am dreaming of a swimsuit in black with gold polka dots...

Saturday, June 22, 2013

Datura 2.0 (the Art Deco Datura)

Oh Datura. Such a perfect little summer top! I am considering drafting some sleeves  for it. Wouldn't it be a wonderful blouse even in the wintertime?

This is my second version, and I made the first view, in size 38. I think I need to go down a size, as it is a bit big. I could take in the size seams, but I did french seams, and I am a bit lazy... It is the same size as my first version , but the fabric is stiffer, and the size issue is more noticeable.

The fabric is a pretty floral cotton which I think has a nice art deco vibe to it. I had to resort to quilting cotton for the contrast yoke, and while it was super easy to work with, it is a bit too stiff to drape nicely. I am really into the cut-outs, and they echo the geometry of the print nicely.


Again, I just sewed the buttons through all layers without doing buttonholes. I'm not really friendly with the buttonhole function on my machine... I placed the buttons quite high. I see now that I need to work on my patternmatching skills, but really, it's not bothering me. It may bother someone walking behind me on the street. Not that I care. I also finished the hem with bias tape, and I LOVE the result. There is a nice weight to the hem, and the curve is perfect. Now I want to hem everything with bias tape!


A detail shot of the neckline. It would be really easy to mess that bit up. You have to pin the bias tape quite perfectly, not stretching it, and not too loosely either. The cotton I used was helpful for that part because it really stayed put, but I can see this being really fiddly. And then you have to be very precise with the topstitching. I am still working on that skill, but practice makes perfect!


Another detail of the pretty fabric. It had been in my stash* for a while, because it was horribly off grain and I didn't quite know what to do about that. So I pulled and thugged and in the end I cheated and cut the pieces off-grain. I'll probably have to pay for that after a few washes, but it felt better than having the pattern at an angle. So, all in all, I'm really happy with how this top turned out. There will be more Daturas to come, but I really need a skirt to wear them with!


* Is about 10 lenghts of fabric a stash? hmmm, I guess it is... it does, however, feels like my closet in the morning. Full of stuff, but nothing interesting enough!

Thursday, June 20, 2013

MMM recap

Alright, I am aware it is almost the end of June, but I wanted to take a minute and reflect over Me Made May. It was my first time participating, and I didn't set myself a sky-high goal, but something I felt was attainable. May was a frantic month for me, and for half of it, I had to spend my days and nights in my Eurovision t-shirt. I pledged to waer a handmade garment at least 3 times a week, and besides for the 10 days of Eurovision, I managed quite well. I did wear the same things a few times... mostly because they are garments in which I feel good. Quite a few me-made items stayed in my closet, unworn. So my biggest lesson learned from Me Made May is to sew things I love and love to wear. It is, afterall, why I sew! I want to have a closet full of beautiful clothes (mostly dresses...) that makes me happy to wear. Handmade clothes are not the goal in itself for me, only a way to achieve my goal: Feel good in my clothes!

The major fail of Me Made May was obviously the documentation of it... I kind of regret now not having pictures to look back to, in order to be able to analyse what I wore. Oh well, September will come soon enough!

I leave you with some pictures of Florence i May...

A dress I made last summer. The bodice is Ava from Victory patterns with a straight skirt and an elasticated waist. I did some colourblocking on the skirt, I really need to to that again. So simple but quite a nice effect. 

The cathedral, Il Duomo. We climbed in the cupola on the last morning, and got to the top. The views of the city were amazing!